The trinity of SSO, Neo4j and a web application
Consider a web application that consumes data from Neo4j. This will require the web application to authenticate and retrieve that data using credentials that are accepted by Neo4j. If our users needed to remember one set of credentials for the web application, another set for Neo4j and then enter those at the correct moment, it’s going to be a jarring user experience.
Can we imporove the user experience with joined up authentication? Well yes we can. Like this
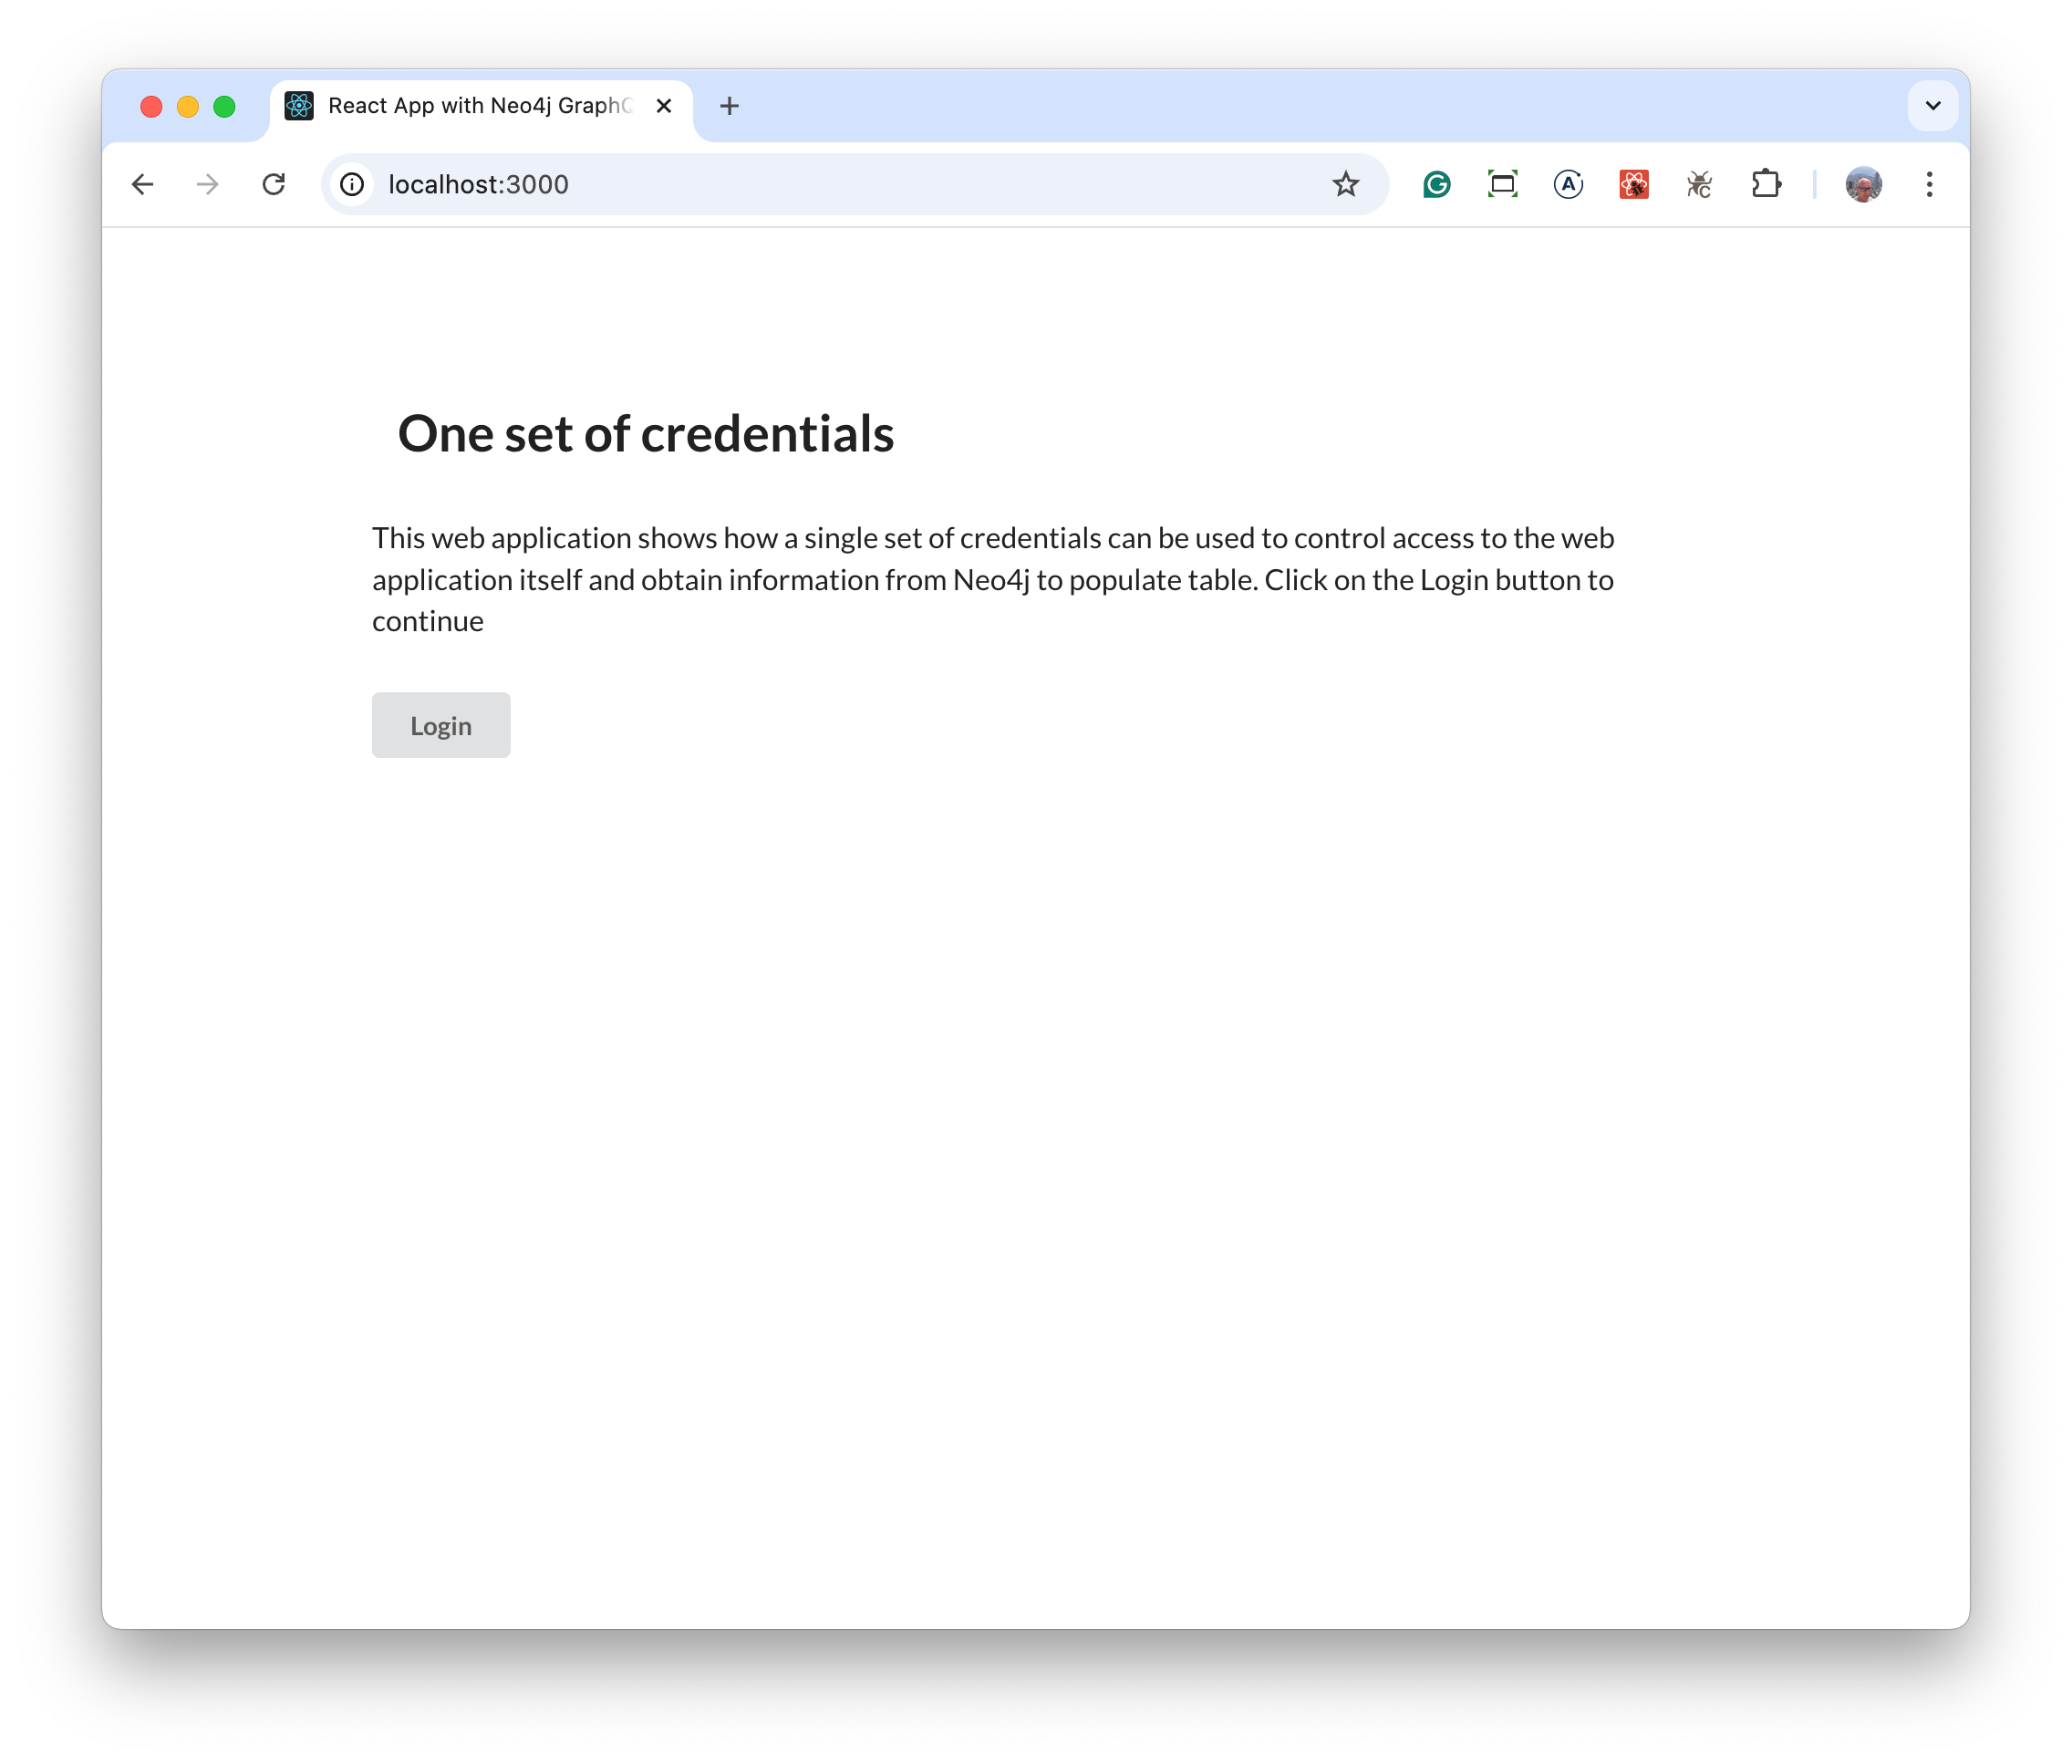
Our web application invites them to Login
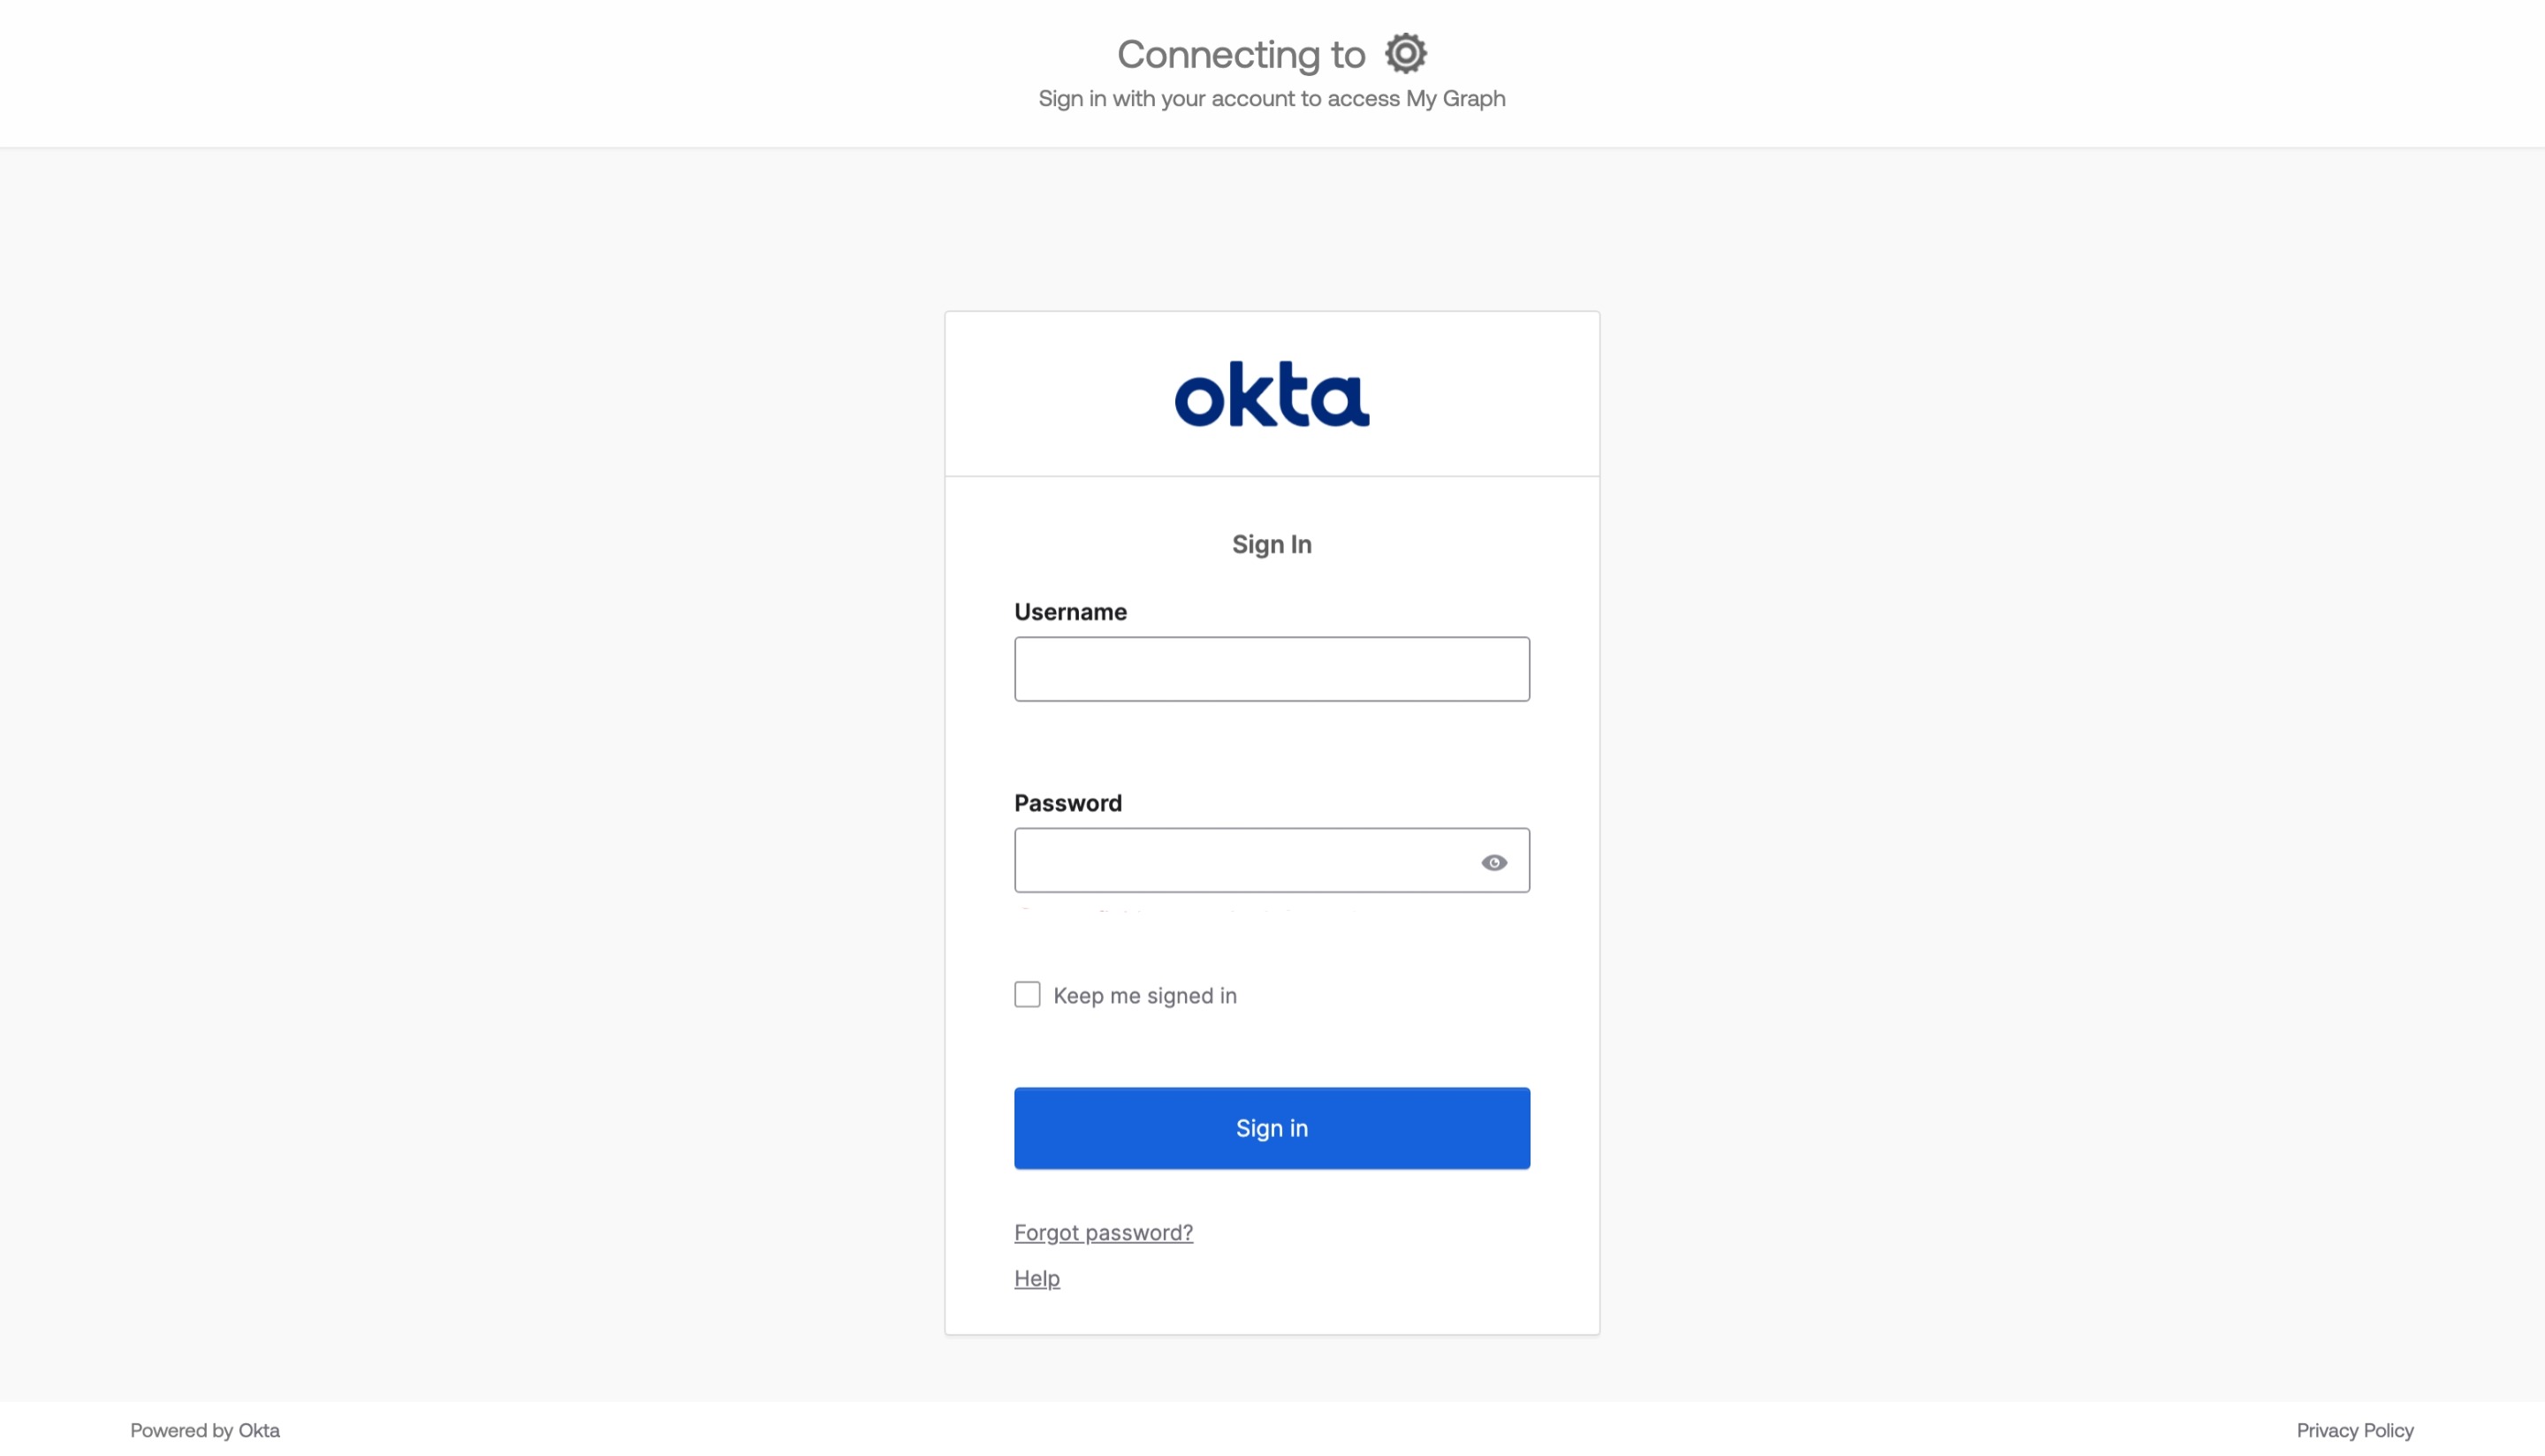
They are taken to Okta to enter their credentials
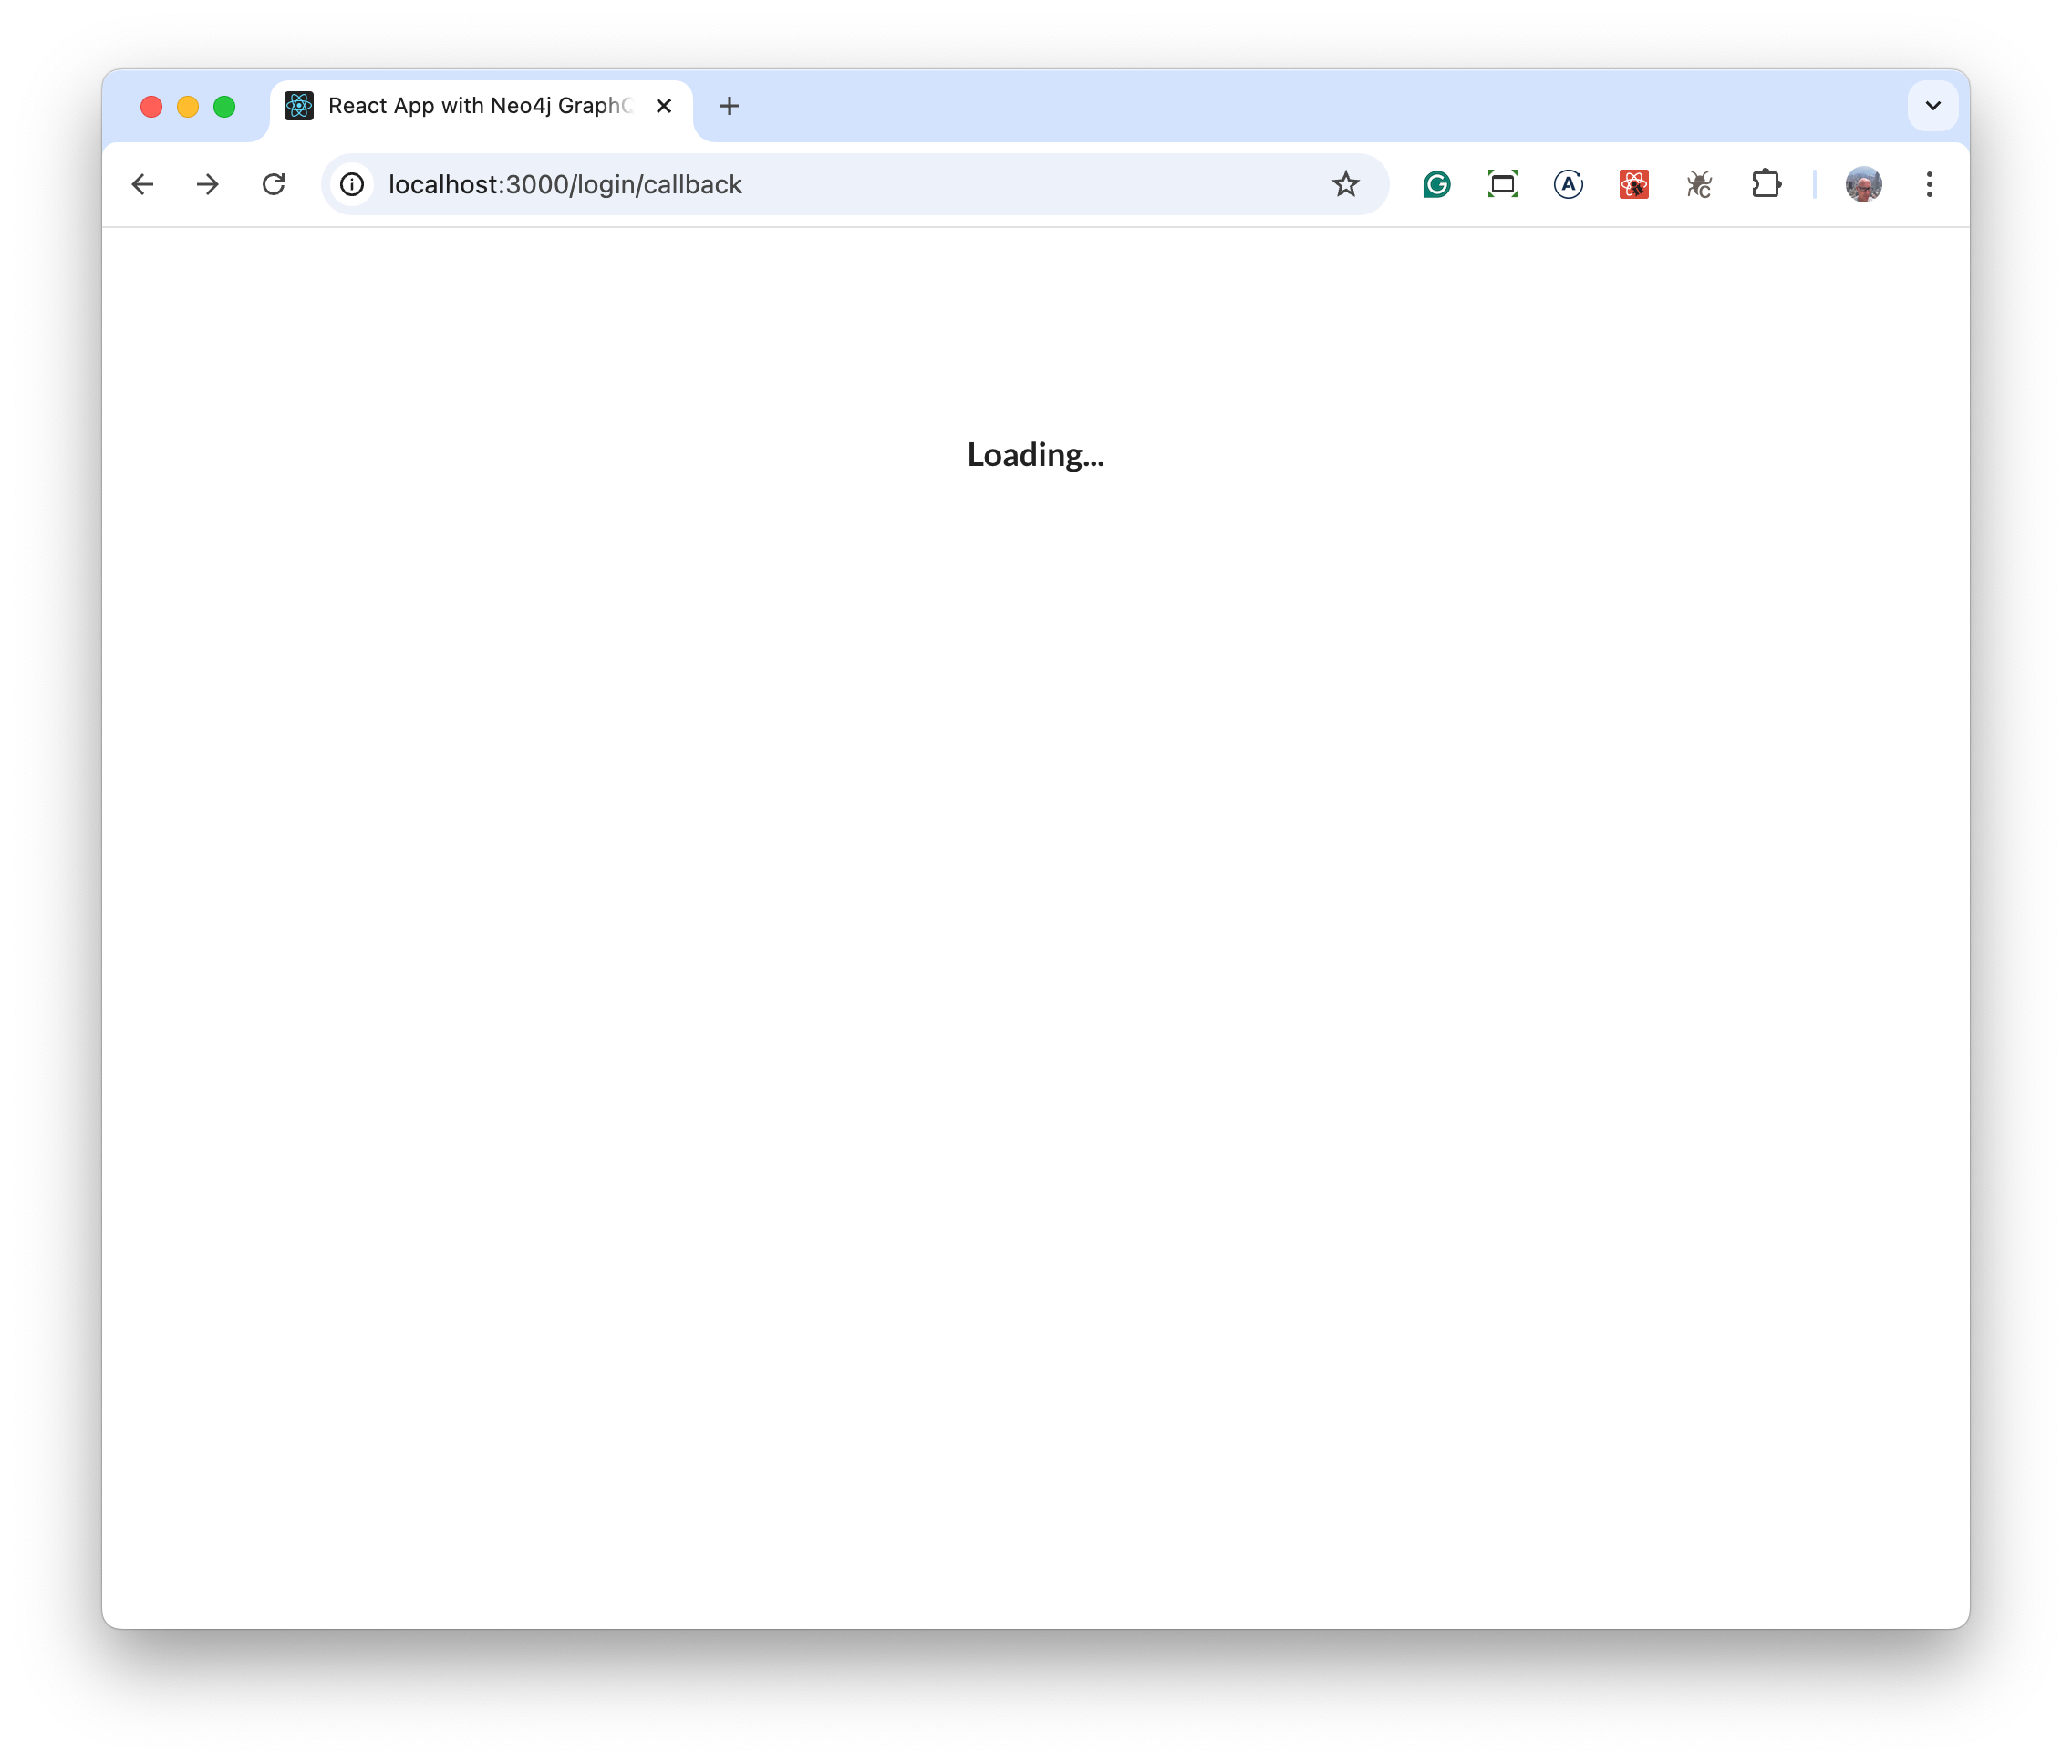
They are returned back to our web application and see that the data is loading
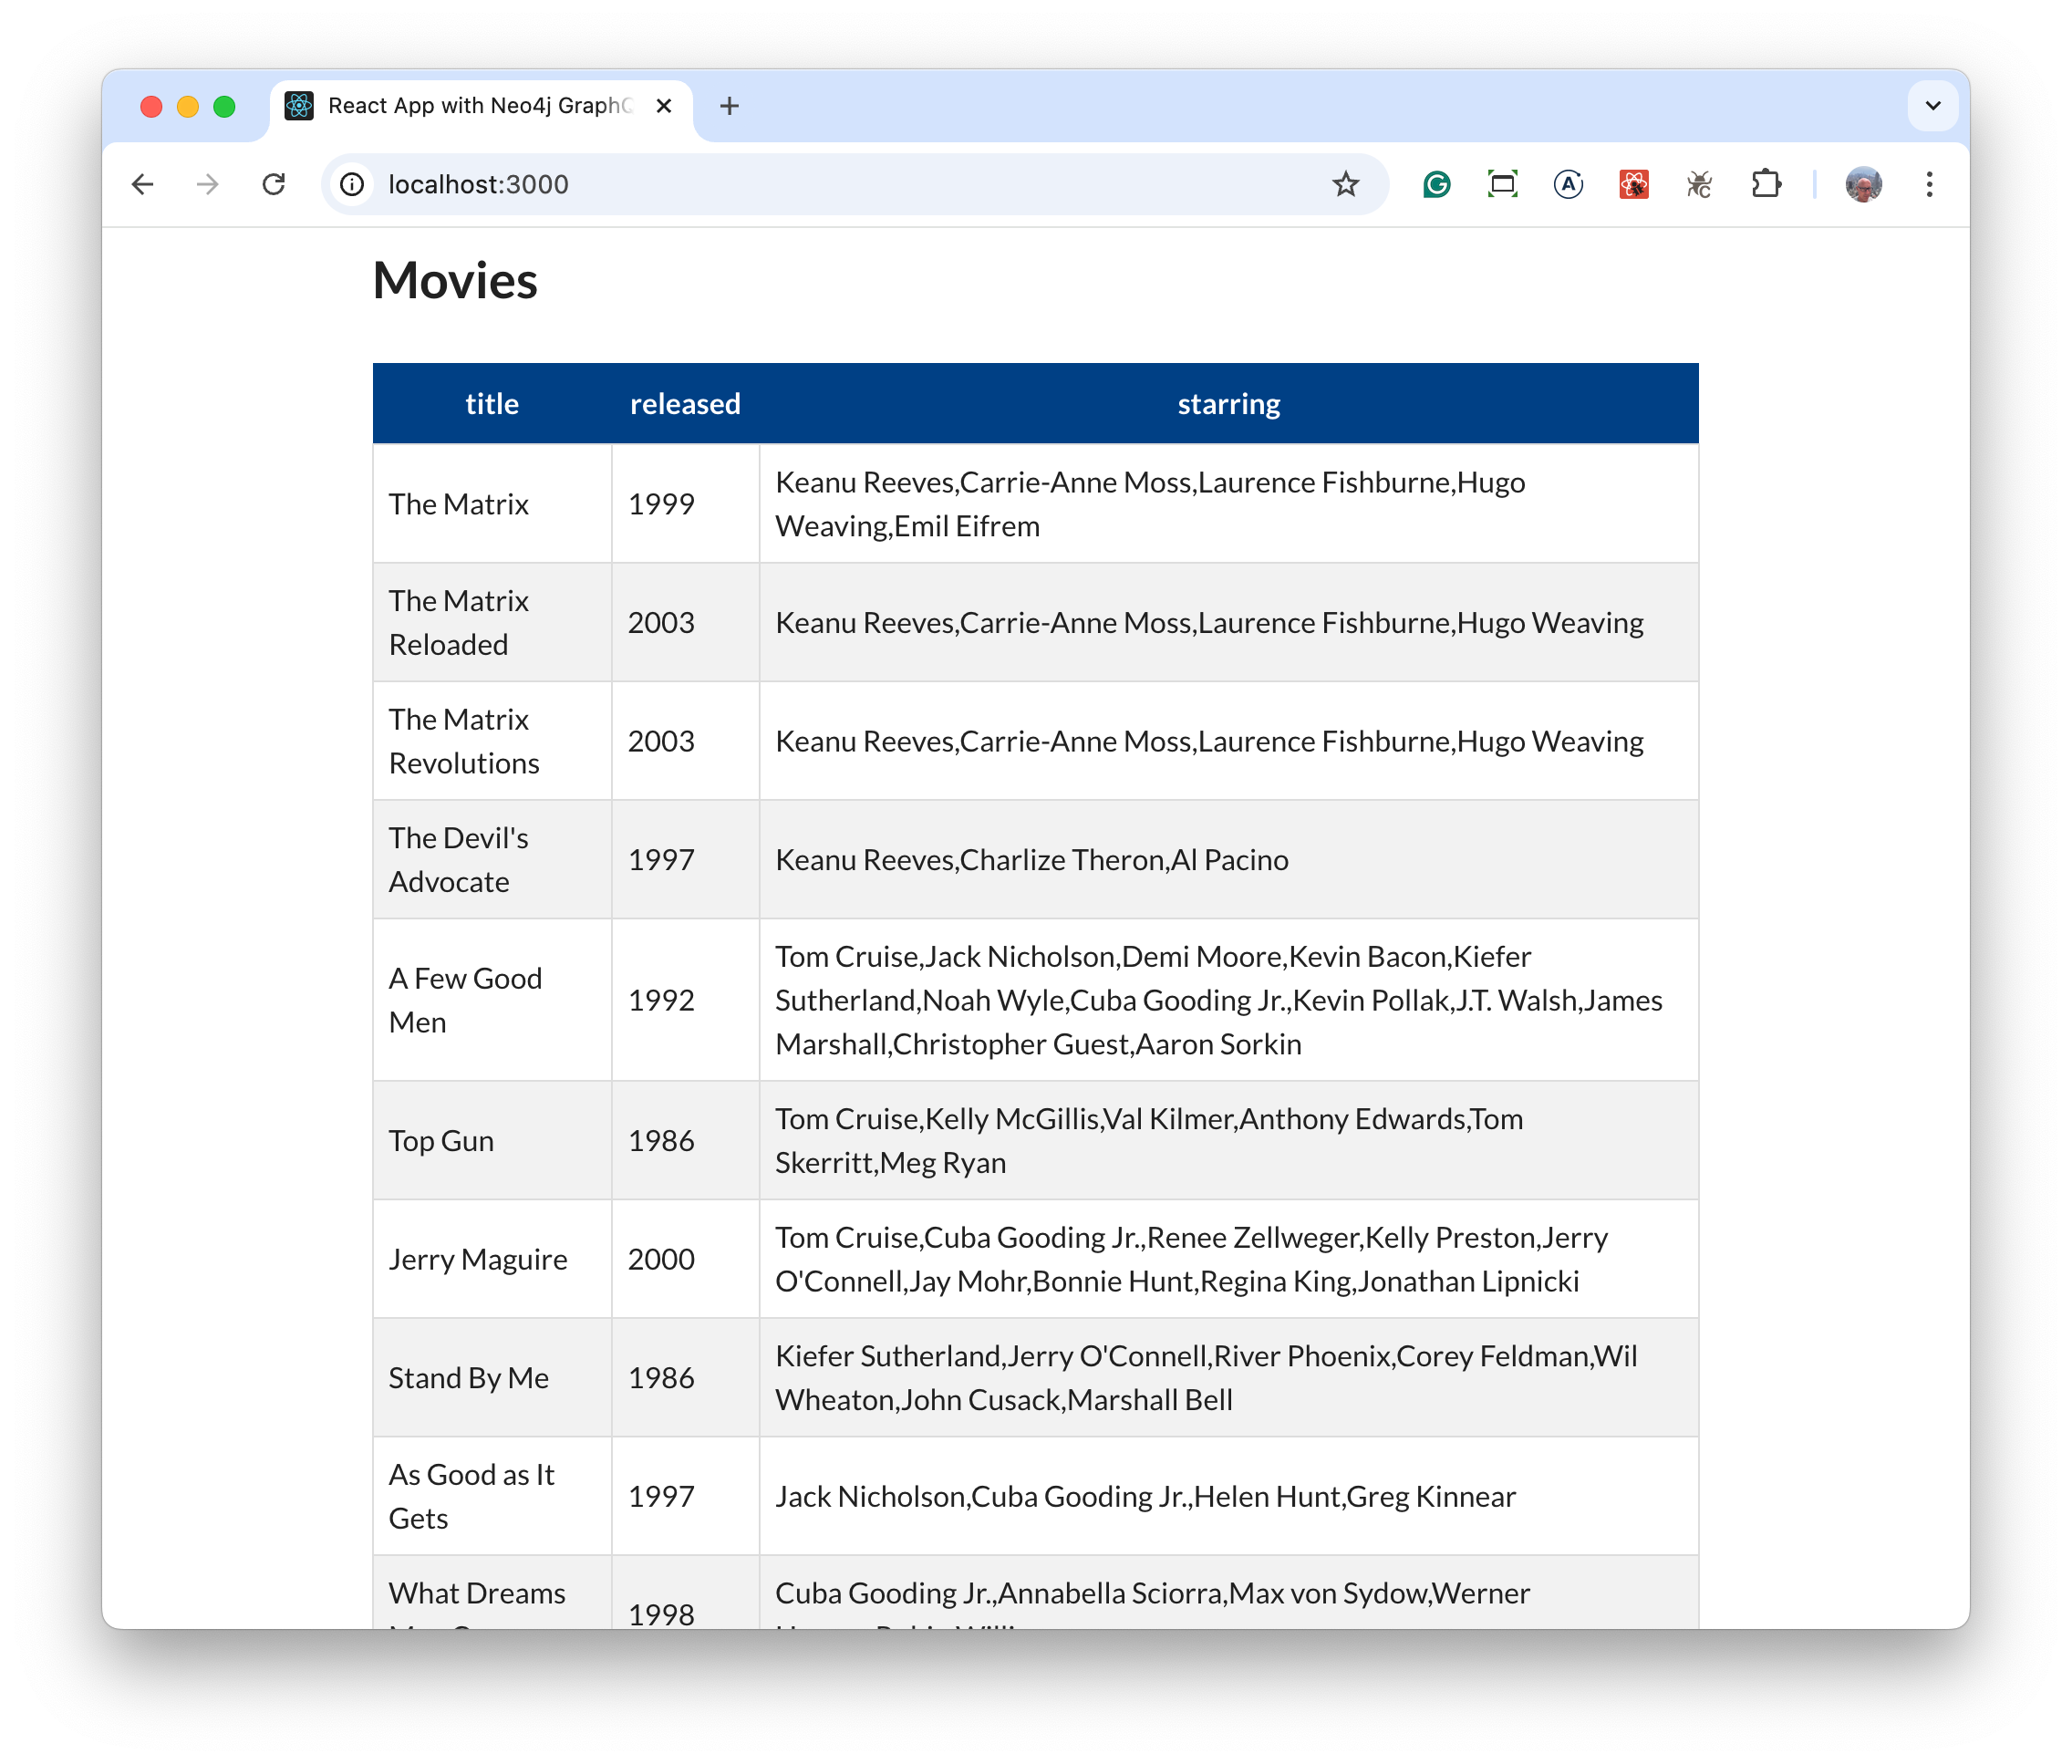
The web application gets the information from Neo4j and populates the table with Movies information
I’d wager this is an improvement - entering a single set of credentials made everything flow seamlessly.
How does that work?
Here’s an abstract description of what’s going on behind the scenes between our web application, Neo4j and Okta.
- The user goes to our web application
- The user selects login and they are taken to a sign in screen provided by Okta
- They enter their username and password
- Okta authenticates the user
- Okta sends a JSON Web Token (JWT) that contains the user’s authentication information , ID_TOKEN and often an ACCESS_TOKEN , back to our web application
- Our web application verifies the received JWT.
- If all is ok with the JWT the user is given access to the page that will display a table that will be populated by information from Neo4j.
- The web application extracts the ID_TOKEN from the JWT and uses it with the Query API to retrieve information from Neo4j,
- Neo4j takes the ID_TOKEN and validates it with Okta
- If the ID_TOKEN is valid and contains the correct access level, Neo4j returns the requested information back to our web application
- The web application fills the table with the information from Neo4j
To gets this to work , we will need
- A free Okta developer account.
- Neo4j Enterprise running in Docker locally with the Movies example graph
- Docker installed
- Text editor
- Beverage of choice
Run Neo4j Docker image locally
Install Neo4j Docker image
|NOTE | If you are not comfortable with the values used for the username & password , change NEO4J_AUTH=neo4j/password to something that works for you.|
|-|-|
The neo4j docker image will use folders in the home directory. Create those first
mkdir -p ~/neo4j/conf
mkdir -p ~/neo4j/data
mkdir -p ~/neo4j/logs
Tell docker to download and run Neo4j
docker run -dt \
    --name=neo4jDb \
    --publish=7474:7474 \
    --publish=7687:7687 \
    --volume=$HOME/neo4j/data:/data \
    --volume=$HOME/neo4j/conf:/conf \
    --volume=$HOME/neo4j/logs:/logs \
    --env=NEO4J_ACCEPT_LICENSE_AGREEMENT=yes \
    --env=NEO4J_AUTH=neo4j/password \
   neo4j:enterprise
Test it
Use your browser to check Neo4j is up http://localhost:7474/browser
This should show you the Browser console for Neo4j. Auth using the username and password from NEO4J_AUTH values and then load the Movies example graph
Okta configuration
|NOTE | You can use a free okta developer account. |
|-|-|
Create a single page application, SPA, with these settings
General
General Settings - enable
- Authorization code
- Refresh Token
Login
Sign-in redirect URIs
- http://localhost:7474/browser/?idp_id=okta&auth_flow_step=redirect_uri
- Allows use of SSO with Neo4j Browser console. This is also how we will check SSO with Neo4j is working correctly.
- http://localhost:3000/login/callback
- Is for our web app that will initially sign-in to okta to get token before passing the id_token part onto Neo4j for auth with the Query API.
Federation Broker Mode
We’re going to let all of our Okta users have this app and determine what they can do by use of Group membership. We will set Federation Broker Mode to Enabled to grant access.
You may not want this for Production and assign users manually in Okta to this application.
Sign-On
OpenID Connect ID Token
IMPORTANT: Groups are used to determine our access in Neo4j. Make sure this is done.
This will send all of the groups that an Okta user is a member of. The regex filter can be changed to restrict that to relevant ones.
- Groups claim type: Filter
- Groups claim filter: groups Matches regex .*
User Authentication
For connivence , our users will auth to Okta using their username / password. For production consider MFA or similar to strengthen security
- Authentication policy: Password only
Once Okta is configured, make a note of the following
- Client ID from General -> Client Credentials
- Audience from Sign On -> OpenID Connect ID Token
- Your account Okta domain -> Select your okta account from the top right corner. You will see the email address that you use with Okta and immediately underneath there is your okta domain e.g dev-86754251.okta.com.
These will be needed to configure our web app and Neo4j.
Okta groups
The Neo4j SSO setup maps Okta groups to profiles found in Neo4j. This example maps one Okta group, neo4jDba , to the Neo4j admin profile. You are entirely free to create new Neo4j profiles and map Okta groups to them. If you do this remember to adjust the Neo4j SSO configuration accordingly. You will need to add your Okta users to those groups so that they then have the desired access for Neo4j.
- In Okta, select Directory from the left hand navigration column and then Groups
- Select Add Group and enter neo4jDba for the name. ( Optionally ) enter a description. Then select Save
- Click on the newly created group neo4jDba and then select Assign People
- From the list of Okta users, add a user by clicking on the plus sign
- When finished select Done
Setup SSO for Neo4j
Edit neo4j.conf and add this in the ODIC section swapping out these values for yours from Okta.
- YOUR_OKTA_ACCOUNT_FQDN
- YOUR_AUDIENCE_ID_FROM_OKTA
- YOUR_CLIENT_ID_FROM_OKTA
# Okta settings
dbms.security.authentication_providers=oidc-okta,native
dbms.security.authorization_providers=oidc-okta,native
dbms.security.oidc.okta.display_name=Okta
dbms.security.oidc.okta.auth_flow=pkce
dbms.security.oidc.okta.well_known_discovery_uri=https://YOUR_OKTA_ACCOUNT_FQDN/.well-known/openid-configuration
dbms.security.oidc.okta.audience=YOUR_AUDIENCE_ID_FROM_OKTA
dbms.security.oidc.okta.claims.groups=groups
dbms.security.oidc.okta.params=client_id=YOUR_CLIENT_ID_FROM_OKTA;response_type=code;scope=openid email groups
dbms.security.oidc.okta.config=code_challenge_method=S256;token_type_principal=id_token;token_type_authentication=id_token
dbms.security.oidc.okta.claims.username=sub
dbms.security.oidc.okta.authorization.group_to_role_mapping=neo4jDba=admin
dbms.security.logs.oidc.jwt_claims_at_debug_level_enabled=true
Save the file and then restart Neo4j.
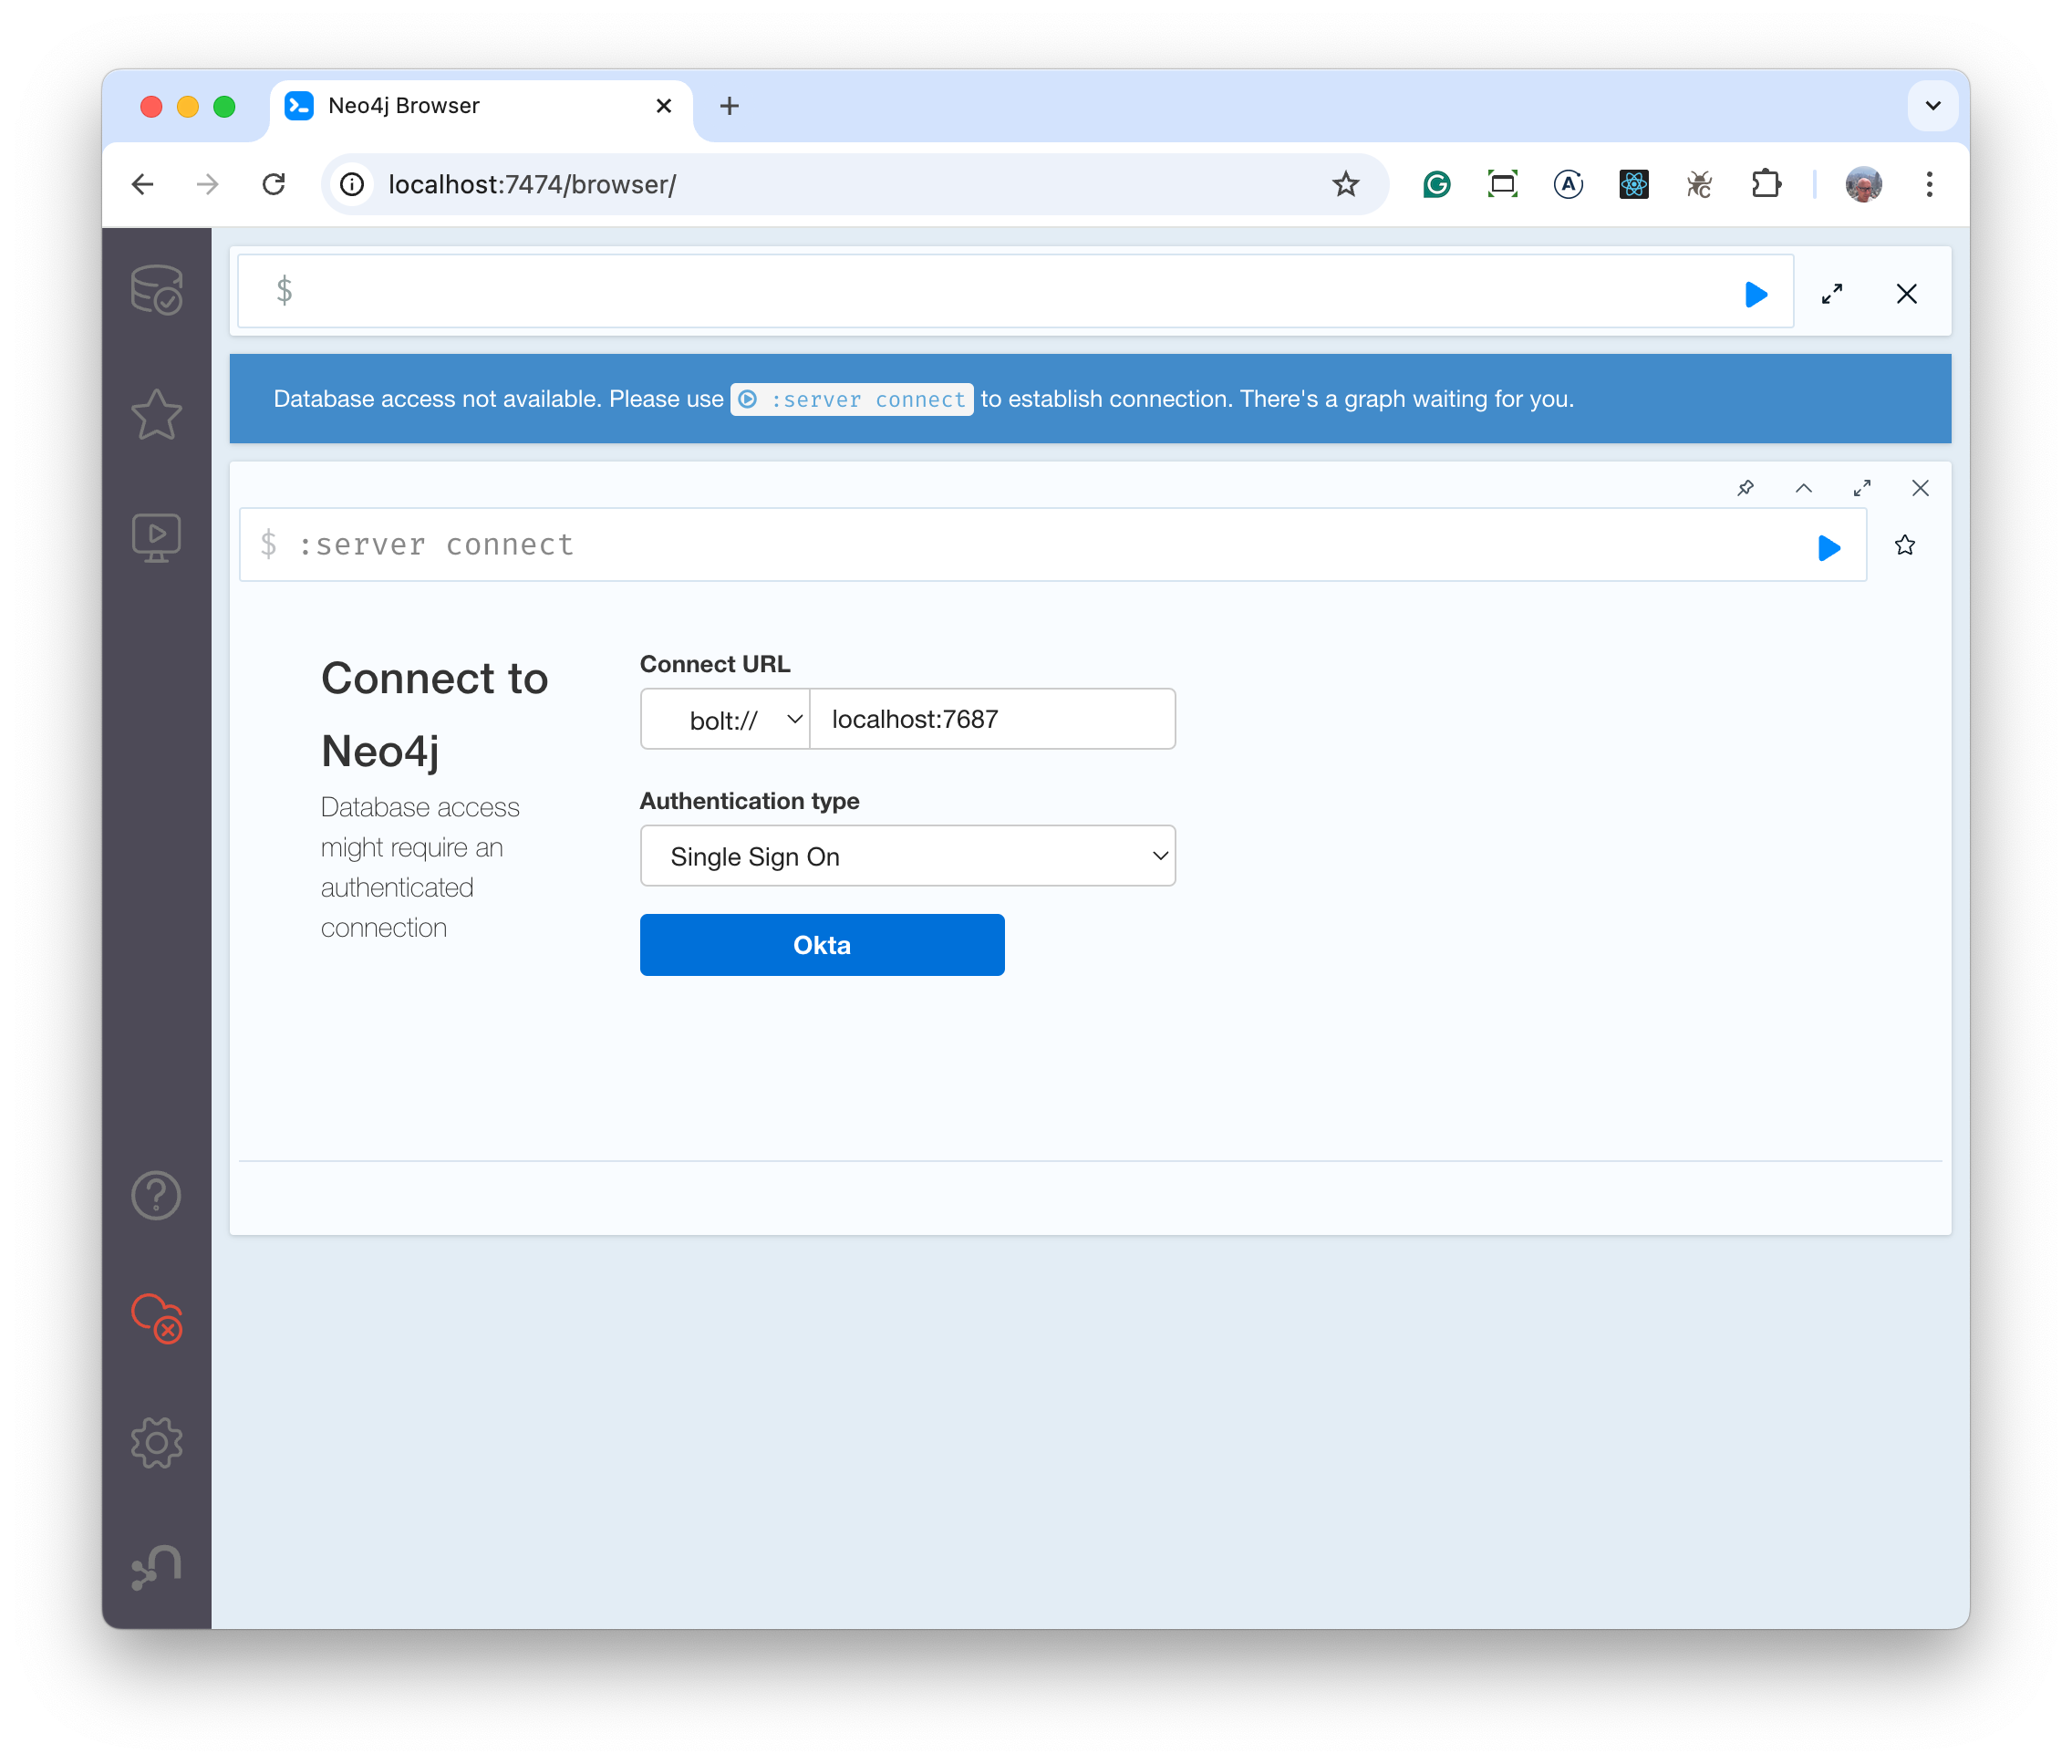
Open your browser with this address http://localhost:7474/browser
From the drop down box , Authentication type, select Single Sign on
A button called Okta should appear. Select that button.
You should be taken to Okta and see a page similar to this
Enter your okta user credentials then select Sign in
If everything has been configured correctly you are taken back to the Neo4j browser and will be logged in.
Get the Web application
The web application is found at github here:- https://github.com/LackOfMorals/query_api_bearer_token.git
Use git to create a folder for our web application, moviesWebApp , and clone the repo into it
git clone https://github.com/LackOfMorals/query_api_bearer_token.git moviesWebApp
Move into the newly created folder and install needed dependencies
cd moviesWebapp
npm install
Edit srv/config.jsx and adjust the variables below for Okta
const CLIENT_ID = "YOUR_OKTA_CLIENT_ID";
const ISSUER = "https://YOUR_OKTA_ACCOUNT_FQDN";
const OKTA_TESTING_DISABLEHTTPSCHECK = true;
const REDIRECT_URI = `${window.location.origin}/login/callback`;
Save the file when the edits have been made
Start up the web application
npm start
Your default web browser will load and show the page below. If not, check the steps have been followed.
Extra
It is possible to obtain the ID_TOKEN from your browser after authenticating into Okta. This is then used with curl for authenticating with the Query API
We’ll use Chrome for this
Enter http://localhost:7474 for the address. When the Neo4j browser console loads, select Okta
Before doing anything else, from the Chrome menu , View -> Developer -> Developer Tools Select Network and then enter token for the filter

Back in the main window of Chrome, select the Okta button and complete the authorisation process. You will be returned back to Neo4j Browser page and should see the token at the bottom
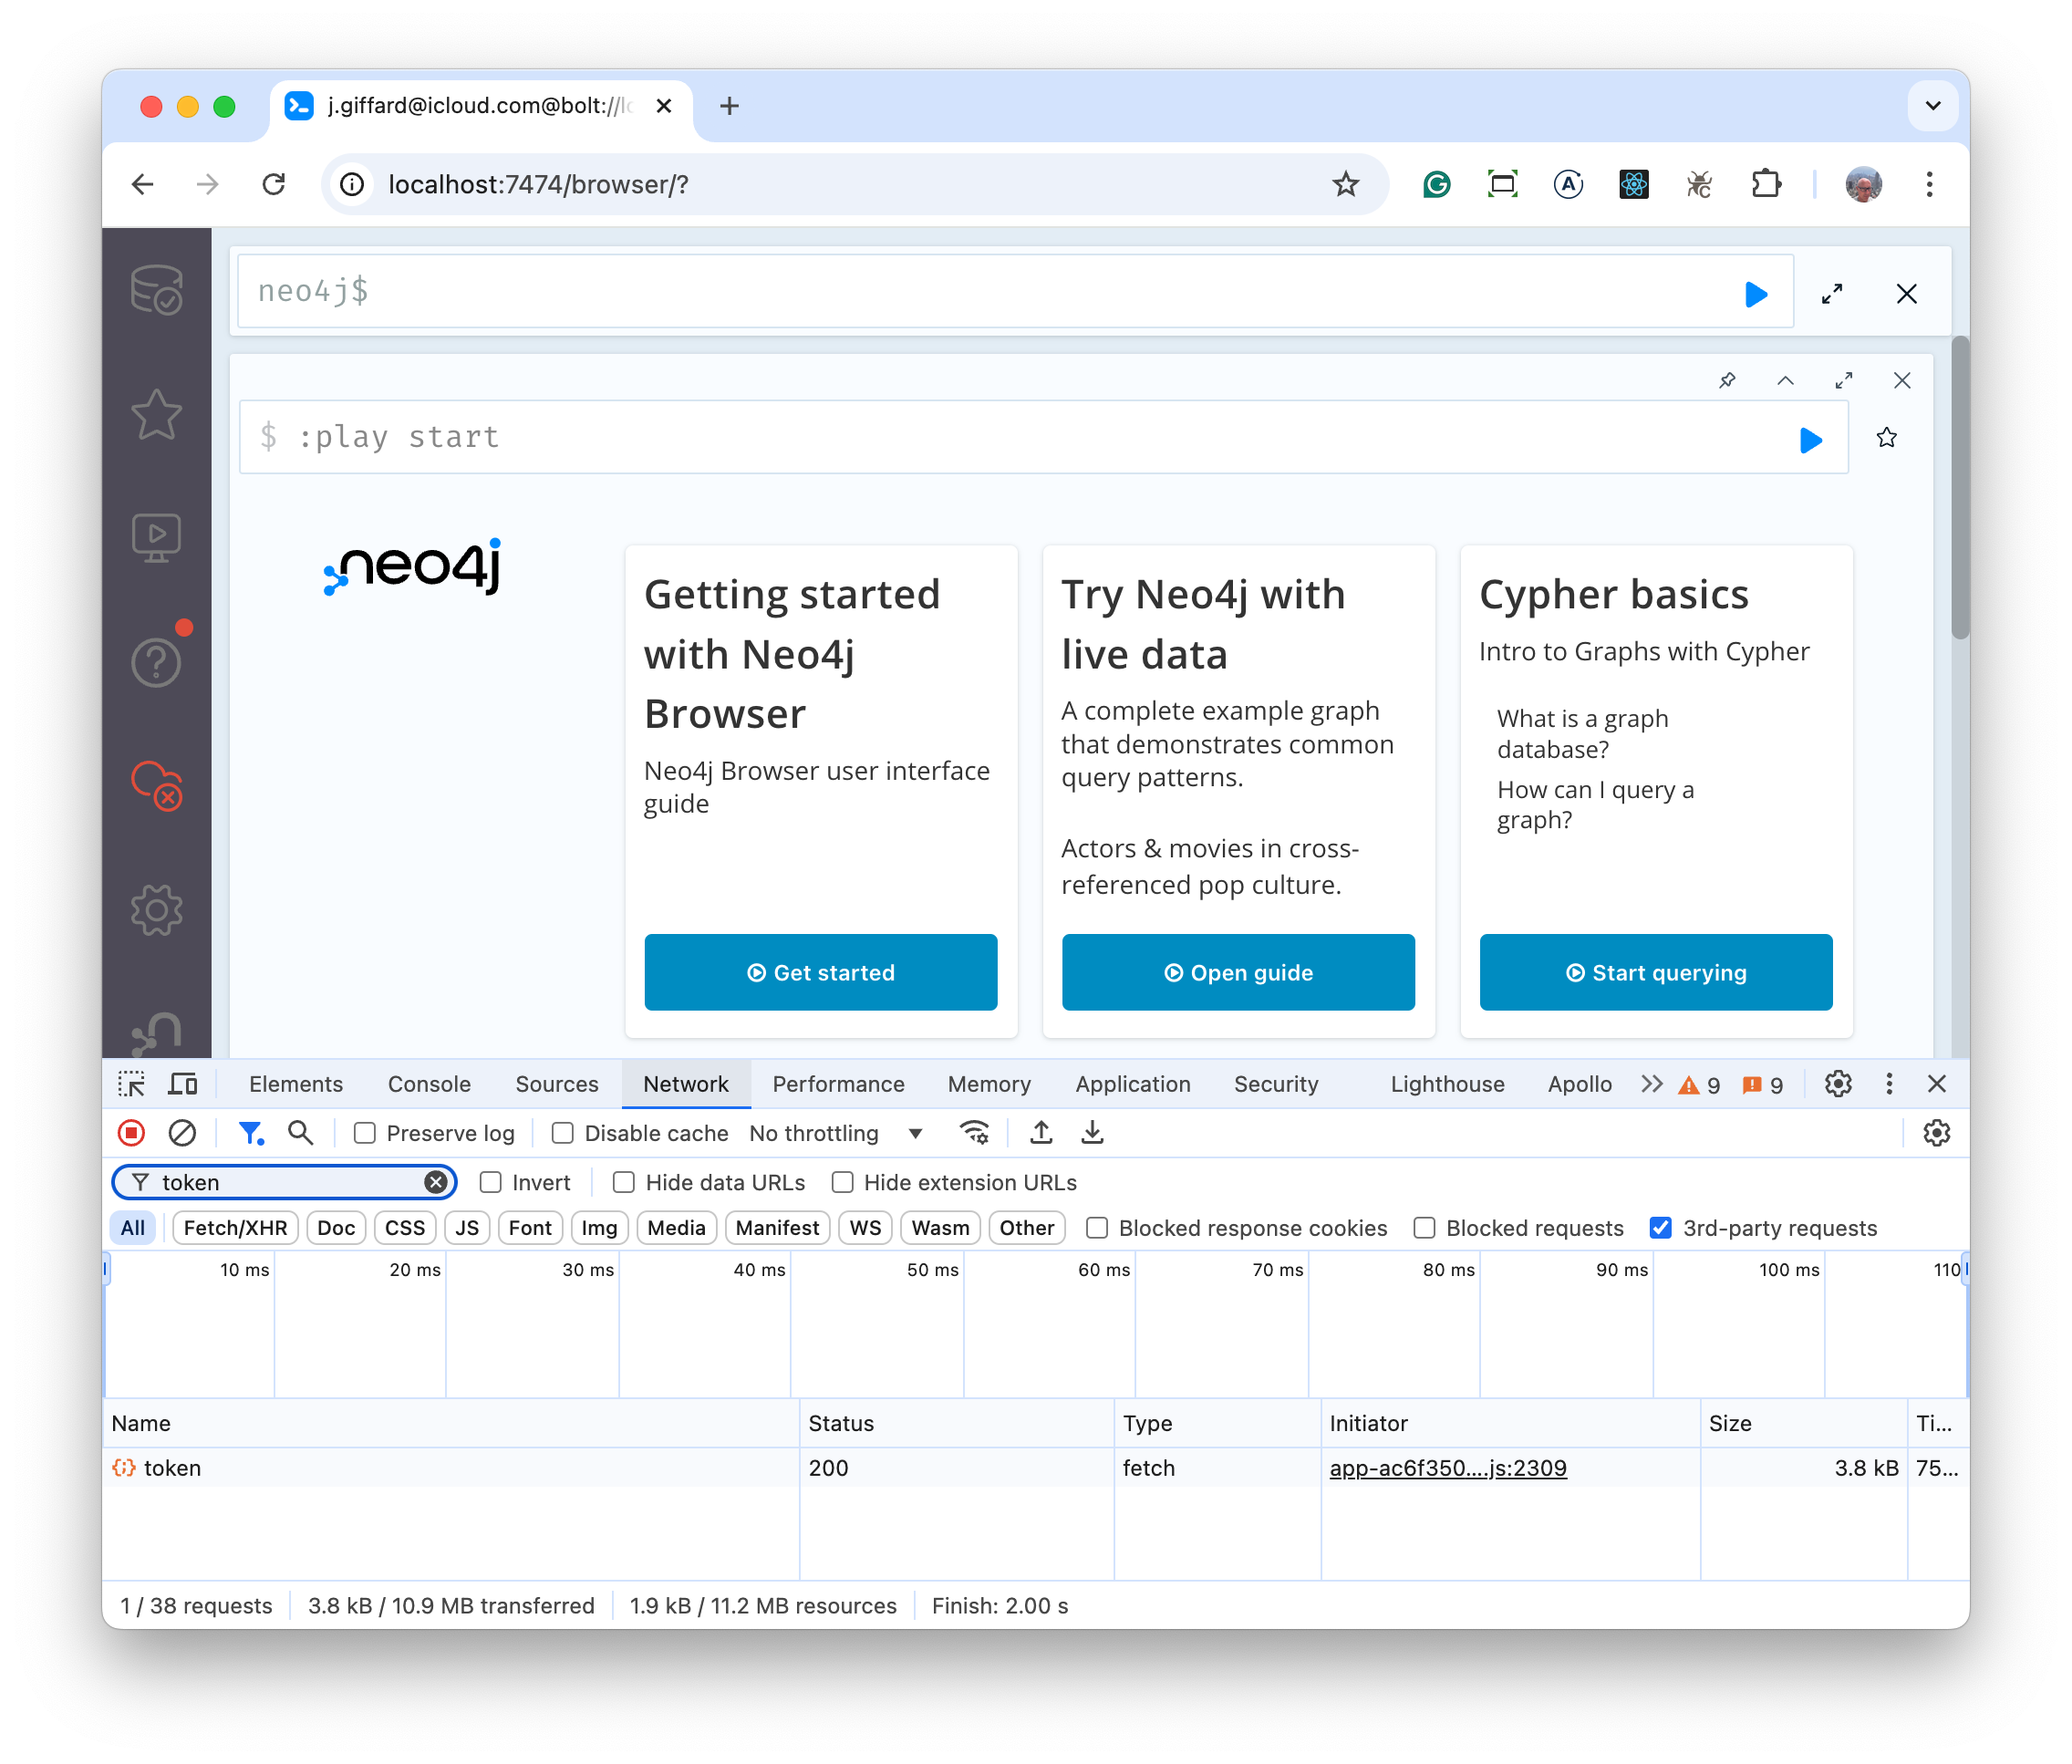
Now select token and then preview
Right click on id_token and select Copy value
Paste this into a text editor
You can now use this value with curl for the query API. Replace ID_TOKEN for your value
curl -X POST https://neo4j.giffard.xyz/db/neo4j/query/v2 \
-H "Authorization: Bearer ID_TOKEN" \
-H "Content-Type: application/json" \
-d '{
  "statement": "MATCH (n) RETURN n"
}' | jq .
Closing remarks
This is a really basic example of using SSO for seamless authentication between two different applications. There’s more to do; improve security by using SSL with Neo4j ( a blog post for another day ), avoid jumping over to Okta for entering credentials, use Neo4j JS driver with the token instead of the Query API , the GraphQL library and a whole bunch of other things .
The next blog post will go into more detail about how the web app works with the Query API & SSO
Laters