Starting out with the Aura API

API
When thinking about Application Programming Interfaces, or APIs as they are known as, you can imagine them as helpers that perform a requested, specific, task and return a response. They are the building blocks from which applications are composed from. There’s many different types of APIs and in this post I’m looking at those which are called across networks - Web APIs. If you’re regular reader then you’ve seen these before where I’ve used APIs from Transport For London to obtain information about the London Tube network.
Web APIs have been around for sometime using a variety of standards and specification such as SOAP, XML, REST, gRPC and GraphQL. Each has it’s own set of strengths and weakenesses and I’m going to dance around taking a position of which is the best. Look at your own use case and make your decision on that basis.
At Neo4j we’ve recently introduced a REST based API for provisioning operations and we’ll be adding more capability to that over time. In this post, I’m going to show you how to start using this by creating an Aura instance.
To start
This will be a code free walk through so we can focus on the API but we’ll need to call the API directly something that we’ll achieve by using curl. curl is a command line tool that allows for calling APIs and seeing what’s going on. It can do more than that - we’re just using a subset of it’s features.
Install curl by following the instructions here:- curl download wizard
Check curl is available like this
curl -V
Onto the Aura console
Aura API is available for our Professional and Enterprise customers. For the purposes of this article, I am assuming you are using Aura Enterprise with a single tenant.
In your browser, jump into the Aura Console and log in.
Click on your email address in the top right navigation, then to ‘Account details’. In the API credentials section, select ‘Create’ and follow the steps to create a client secret and client id
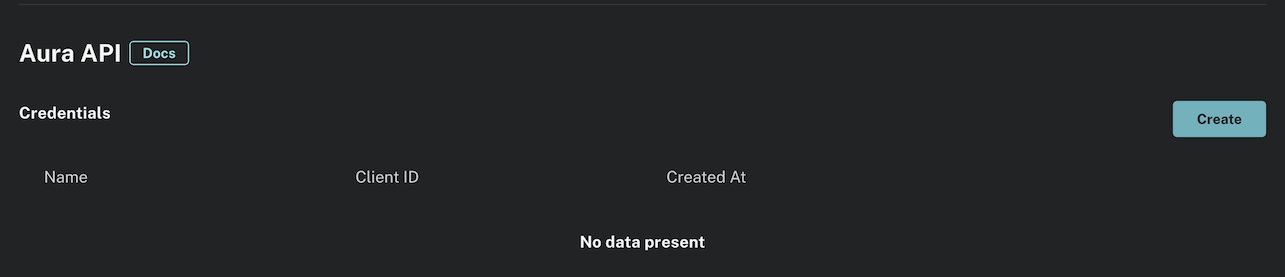
Note: Please be aware that the credentials are not saved in the console, and you must download and store these safely.
Process outline
Our goal is to create an aura instance. To do that, we’ll need to :-
- Get a bearer token
- With the bearer token, use the API to look up the tenant ID we will use to create the aura instance in
- Use all of this information to create the aura instance
Bearer token
‘Bearer token’ has been referenced several times so far but what is it? A Bearer token basically says “Give the bearer of this token access to a protected resource”. In this case, it’s access to the Aura API. We get a bearer token by sending our client id and client secret. If they are valid, then we get a bearer token back which is valid for a set period of time determined by the Administrators. In our case its 1 hour. After this time the bearer token cannot be used and a new one obtained.
The advantage of this approach is that it doesn’t require complex libraries to make requests and is much simpler for both clients and servers to implement. The flip side, the disadvantage, is that there is nothing preventing other apps from using a Bearer token if it can get access to it. To mitigate against this you must properly protect the access tokens under your ( well the client application ) control. Usually this is not a problem and is sufficiently secure for purposes like the Aura API provides. It’s a commonly widely used mechanism. More about Bearer tokens can be found here commonly used api authenticatin methods and in RFC6750
Lets use curl to obtain our Bearer token
Replace YOUR_CLIENT_ID and YOUR_CLIENT_SECRET with your values from the Aura Console ( you did keep those ? ) but keep the : between them
curl --location 'https://api.neo4j.io/oauth/token' --header 'Content-Type: application/x-www-form-urlencoded' --data-urlencode 'grant_type=client_credentials' -u 'YOUR_CLIENT_ID:YOUR_CLIENT_SECRET' -v
This will return a wall of text due to -v at the end which tells curl to execute in verbose mode i.e tell us everything. I’d advise you to only use this in the future for troubleshooting.
Right at the end you should see the data that is of interest. It will look a bit like this
{"access_token":"eyJ1c3IiOiJkNzI2MzE1My03MWZmLTUxMjQtOWVjYy1lOGFlM2FjNjNjZWUiLCJpc3MiOiJodHRwczovL2F1cmEtYXBpLmV1LmF1dGgwLmNvbS8iLCJzdWIiOiJFSDdsRTgwbEhWQVVkbDVHUUpEY0M1VDdxZ3BNTnpqVkBjbGllbnRzIiwiYXVkIjoiaHR0cHM6Ly9jb25zb2xlLm5lbzRqLmlvIiwiaWF0IjoxNzAyOTgzODQzLCJleHAiOjE3MDI5ODc0NDMsImF6cCI6IkVIN2xFODBsSFZBVWRsNUdRSkRjQzVUN3FncE1OempWIiwiZ3R5IjoiY2xpZW50LWNyZWRlbnRpYWxzIn0eyJhbGciOiJSUzI1NiIsInR5cCI6IkpXVCIsImtpZCI6ImFKbWhtUTlYeExsQmFLdHNuZnJIcCJ9..jkpatG4SCRnxwTPzfEcSJk3Yyd0u_NMH8epNqmSBMUlp_JvvqbKpNdkPIE6vx5hLRgVCVKovxl4KY9yzEkr7R5s4YU3s2K25eNB1q1y3yQ_-9N0e6eOhmjIrsWHMd_rl2NuGIHo6pHihumuJlEg-U2ELkWyu8Iz3zQxjycVnPHzlbu7sbtwVJdU7UzgO12jgDLA1T4mUqvxdAAdnoXO57SwczYoYKY2YL61CMTn-xdQ6MFS8A3vwpGQbRirwVVxvEmoIPCLlQwHeEC4_modJ4cifmjt6ChJb1sxsRpFvdNHm0vNcLjy-96e88D50AMgjvS4VQCmVKA7kUgt7t5IpKg","expires_in":3600,"token_type":"Bearer"}
Which is a json documemt containing a set of key:value pairs. It’s the value of the key ‘access_token’ that is our bearer token. Make a note of this somewhere
Find our tenant id
Both Aura Professional and Enterprise have the concept of tenants. A tenant is an isolated environment into which you can invite users and control what they can do e.g create an Aura instance.
We will use curl to obtain our tenant id and this will need our bearer token. You may want to practice your copy & paste skills before proceeding as you will need replace YOUR_BEARER_TOKEN with , err, your bearer token.
curl --location 'https://api.neo4j.io/v1/tenants' --header 'Accept: application/json' --header 'Authorization: Bearer YOUR_BEARER_TOKEN'
This will return a json document like this one
{"data":[{"id":"6e6bbbe2-5678-5f8a-1234-b1f62f08b98f","name":"team1"},{"id":"ad69ee24-1234-5678-af02-ff8d3cc23611","name":"team2"}]}
In the example response above, there are two tenants returned. If you’re a member of multiple tenants, you will need select the one you wish to use.
Create an Aura instance
Using our Bearer token and Tenant ID our final step is to create the Aura instance itself. To do this we’ll need to specify the configuration in the body of the request in JSON format like this
 {
    "version": "5",
    "region": "europe-west1",
    "memory": "8GB",
    "name": "Instance01",
    "type": "enterprise",
    "tenant_id": "ad69ee24-1234-5678-af02-ff8d3cc23611",
    "cloud_provider": "gcp"
}
This will create an Aura instance with 8GB memory in GCP region europe-west1 with a name of ‘Instance01’ in tenant belonging to team2
You can use your own values and check with the Aura API documentation for more details on these.
Lets put this all into a curl command. Change the values as indicated ( It’s at this point that your prior practice of copy & paste will really come in handy ! ).
curl --location 'https://api.neo4j.io/v1/instances' --header 'Content-Type: application/json' --header 'Accept: application/json' --header 'Authorization: Bearer YOUR_BEARER_TOKEN' --data ' { "version": "5", "region": "europe-west1", "memory": "8GB", "name": "instance01", "type": "enterprise-db", "tenant_id": "YOUR_TENANT_ID", "cloud_provider": "gcp" }'
With a following wind, you should see a JSON response like this
{"data":{"cloud_provider":"gcp","connection_url":"neo4j+s://8f769515.databases.neo4j.io","id":"8f769515","name":"JG-Instance666","password":"I5NcTDap_4BOJcBds6U5y36uCG_j1RYu_hCohHrz-0","region":"europe-west1","tenant_id":"ad69ee24-1234-5678-af02-ff8d3cc23611","type":"enterprise-db","username":"neo4j"}}
The response contains everything you need to connect to the new Aura instance which is now being provisioned. You’ll need to wait for a few minutes for the process to complete and you can always check on progress by , guess what, using curl again to call the Aura API to get the status
curl --location 'https://api.neo4j.io/v1/instances/YOUR_INSTANCE_ID' --header 'Accept: application/json' --header 'Authorization: Bearer YOUR_BEARER_TOKEN'
Response
{"data":{"cloud_provider":"gcp","connection_url":"neo4j+s://8f769515.databases.neo4j.io","id":"8f769515","memory":"8GB","name":"JG-Instance666","region":"europe-west1","status":"running","storage":"16GB","tenant_id":"ad69ee24-1234-5678-af02-ff8d3cc23611","type":"enterprise-db"}}
If you see ‘status’ with a value of ‘running’ then you’re good to go and can start using the new Aura instance
What next?
If you’re not comfortable with what has been done so far, we do have a CLI tool that provides more pleasant user experience. It’s also entirely possible to write some bash scripts or similar to automate our manual steps.
Aura API has full documentation which also has the ability to try the API. Find that here:- Aura API documentation
Laters